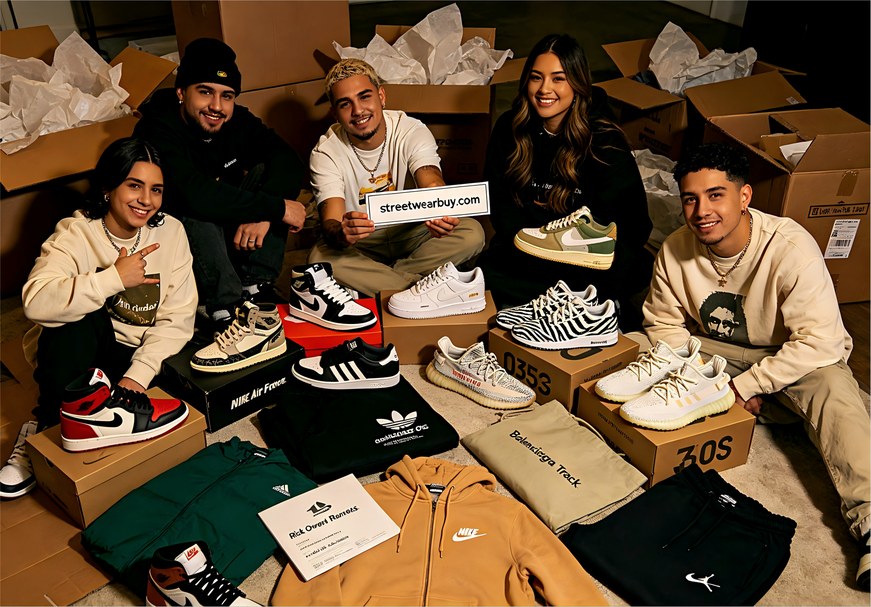
Complete guide to quality checking Nike rep photos. What to look for, what to ignore, and how to GL or RL your order with confidence.
QC evaluation for Nike shoes follows the same general principles as all rep QC but with Nike-specific details that matter for each silhouette. For Dunks and AF1s: evaluate the swoosh curvature and stitching first — these are the most visible branding elements and the easiest to assess in QC photos. For Air Max silhouettes: always request a side profile photo and a close-up of the air unit. For Jordans: verify the lacing system, toe box shape, and size tag.
The acceptance threshold for Nike QC photos varies by what you paid. B1 batches have known compromises that community documentation describes — going in with accurate expectations means you evaluate QC against the batch standard, not against retail. B3 batches command higher prices because they are held to near-retail accuracy standards, and QC evaluation for B3 purchases should be correspondingly strict.
Community QC rejection posts are as valuable as acceptance posts for calibrating your evaluation. Searching specifically for rejection posts on your model reveals what failure modes are common and what they look like in photos. This calibration significantly improves your ability to identify the same issues in your own QC set.
The accept-or-reject decision on QC photos follows a structured framework rather than a gut feeling. Document your specific concern, reference community examples of the same issue for that batch, and make a decision based on evidence rather than anxiety. Common reasons to accept despite minor concerns: the issue matches known batch characteristics that community documentation describes as acceptable; the issue is in a low-visibility area; the item price reflects the batch tier. Common reasons to reject: the wrong item was sent; a major structural defect is visible; color or shape is significantly wrong.
Requesting additional photos should be targeted and specific. 'Please send a photo of the heel counter from directly behind' is a better request than 'please take more photos.' Specific requests get faster responses and more useful photos. Maintain a record of your QC photo requests and responses — this documentation is valuable if you need to escalate a dispute.
Documenting your own QC evaluations over time builds a personal reference library that improves future decisions. Saving QC photos from accepted and rejected items, along with notes on what you evaluated and why you decided as you did, creates a calibration record that pays dividends as your rep collection grows. Buyers who have evaluated fifty sets of QC photos make better decisions than buyers evaluating their third set, and the improvement trajectory accelerates with documented practice.
Sharing your QC evaluations in community forums — particularly for items with limited documentation — contributes to the collective knowledge base that benefits future buyers. The community research infrastructure that makes rep buying accessible today was built by countless buyers sharing their experiences. Contributing to it takes minutes and benefits many.
QC evaluation skill develops faster with active engagement than passive observation. After each QC evaluation, record what you noticed and what informed your decision. After receiving your item, compare the QC photos to the actual product — this feedback loop between photo evaluation and in-hand reality is the most effective calibration mechanism available. Over ten to fifteen evaluations with this feedback loop, most buyers develop reliable instincts that serve them for years of rep purchasing.
QC photo review is the step between ordering and approving shipment. Most buyers either rush through it or don't know what to look for. For silhouette-specific QC notes: the Air Force 1 guide flags perforations and swoosh angle. The Dunk Low guide flags toe box curvature and midsole paint. The QC checklist tool turns these principles into a step-by-step photo review.
The most common QC mistake is approving photos that show only one angle. Request a full photo set: side profile (both shoes), toe cap from above, heel from behind, sole, and insole label. Most agents accommodate these requests at no extra cost — they just need to be asked. The agent guide covers how to write QC photo requests for CNFans, Kakobuy, and Sugargoo.
Batch matters for what to check. LJR batch on any Nike silhouette is unlikely to fail on shape or construction — the more common LJR issue is colour matching on specific colourways. TS batch is more likely to have construction errors. The batch guide covers what each batch typically fails on by silhouette. The model directory has silhouette-specific QC notes for every Nike model.